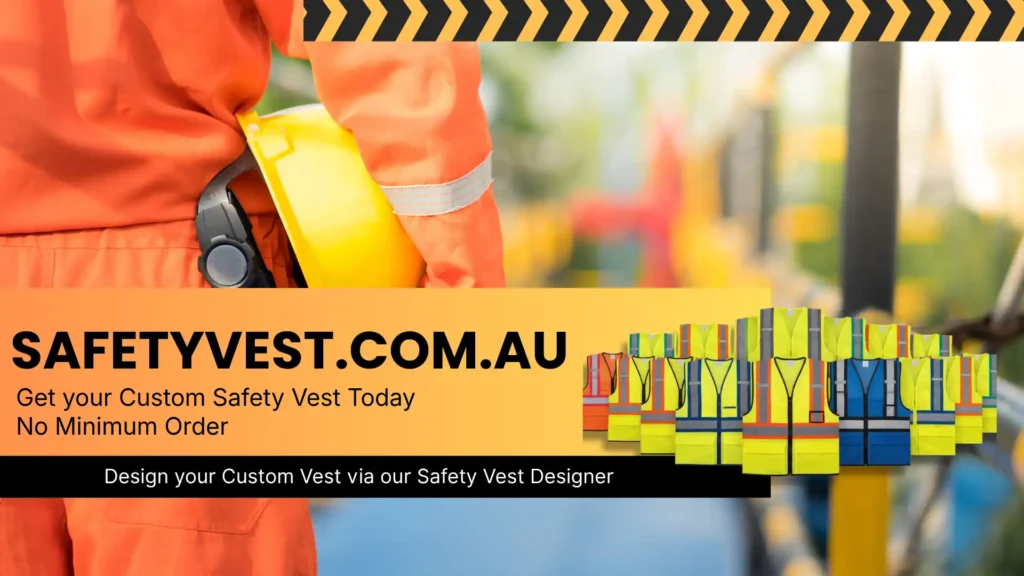
When a site supervisor glimpses a crew of workers scattered across a hot‑sun‑blasted construction site, the first thing they check isn’t the tools or the scaffold—it’s the colour of the vests. A bright, correctly‑positioned logo can mean the difference between a quick visual check and a dangerous mix‑up near live traffic. Yet many Aussie businesses still hand‑draw their designs or rely on a generic template that looks the same as the neighbour’s.
This article shows you how to harness affordable design software to produce professional, compliant layouts for custom safety vests. You’ll learn which programmes work best, the step‑by‑step workflow, the standards that must be met, and the pitfalls that site managers often overlook. By the end, you’ll be able to create a print‑ready file that meets AS/NZS 4602.1, satisfies SafeWork NSW, and gets your workers looking sharp in five to seven business days.
Contents
- What design software can do for your safety vest and why it matters
- Practical breakdown: a step‑by‑step workflow (with a numbered list)
- Compliance and Australian standards angle
- Common mistakes or misconceptions on Australian worksites
- Industry‑specific context
- Frequently Asked Questions
- Conclusion
What design software can do for your safety vest and why it matters
A custom vest layout that follows the right workflow guarantees colour accuracy, correct logo placement, and compliance with retro‑reflective tape requirements.
Design software turns a rough sketch into a digital file that can be screen printed, heat‑transferred or embroidered without guesswork. For Australian employers, that matters because the WHS regulator expects high‑visibility garments to meet strict size, colour and tape‑width rules. A correctly prepared file eliminates costly re‑prints and keeps delivery within the standard 5–7 business‑day window that Safety Vest Australia promises.
Using software also future‑proofs your brand. When you need to update a logo or add a new colour stripe, you simply edit the master file rather than starting from scratch. Because the platform stores vector graphics, the artwork scales cleanly from XS to 7XL, keeping the design crisp on every size. No minimum order, no setup fees, and no hidden artwork charges—just a clean, compliant file that can be uploaded to the live vest designer on the Safety Vest website.
Practical breakdown: a step‑by‑step workflow
- Choose the right programme – For most Australian businesses, the sweet spot is a free or low‑cost vector editor such as Inkscape or a subscription‑based tool like Adobe Illustrator. Both handle AI, EPS, PDF, PNG and SVG formats, which are accepted by Safety Vest Australia.
- Download the template – Log in to the online live vest designer and pull the template for the vest class you need (Class D/N or Class R). The template includes measurement guides for tape placement, pocket outlines and the printable safe‑zone.
- Set up your colour profile – Select “CMYK” and use the approved hi‑vis colours: Fluorescent yellow‑green (Pantone 102 C) or Fluorescent orange‑red (Pantone 1655 C). These are the only shades recognised by AS/NZS 4602.1, so any other hue will fail compliance checks.
- Import your logo – Drag your AI or EPS logo onto the canvas. Keep the artwork within the 50 mm minimum retroreflective tape width if you intend the logo to sit on the tape; otherwise place it on the base fabric. Resize using the corner handles while holding Shift to maintain proportions.
- Add text and safety symbols – Use the built‑in font library for legibility; avoid thin strokes that can disappear when the design is heat‑transferred. Include mandatory safety symbols—like the “Caution” icon—if required by your client’s WHS plan.
- Check the alignment – Toggle the “preview” mode to view the design on a 3‑D vest mock‑up. Verify that the logo sits centred on the chest and does not overlap seams or pocket edges.
- Export the file – Save as a PDF with “High Quality Print” settings, ensuring all fonts are outlined and images are at least 300 dpi. For embroidery, export a separate EPS file that the DTG or heat‑transfer supplier can interpret.
- Upload and request a proof – Submit the file through the Safety Vest “Contact Us” portal. The team will run a compliance check against the Compliance Guide and send you a digital proof before production.
| Step | Action | Tool | Why it matters |
|---|---|---|---|
| 1 | Choose software | Inkscape / Illustrator | Vector files stay sharp at any size |
| 2 | Download template | Safety Vest site | Guarantees correct tape zones |
| 3 | Set colour profile | CMYK, approved hues | Meets AS/NZS 4602.1 colour rules |
| 4 | Import logo | AI, EPS, PNG, SVG | No extra artwork fees |
| 5 | Add text/symbols | Built‑in fonts | Legibility for on‑site checks |
| 6 | Check alignment | 3‑D preview | Prevents mis‑placement on production |
| 7 | Export PDF/EPS | High‑res settings | Ready for screen print or embroidery |
| 8 | Upload for proof | Contact page | Ensures compliance before print |
Follow these eight steps and you’ll have a production‑ready layout that respects the 50 mm retro‑reflective tape requirement, fits every size from XS to 7XL, and ships to even the most remote Australian site in under a week.
Compliance and Australian standards angle
Australian high‑visibility garments are governed primarily by AS/NZS 4602.1:2011. The standard dictates fluorescent colour, minimum reflective tape width (50 mm), and the requirement that the tape encircle the full torso for Class D/N and Class R vests. When you design your own layout, the first rule of thumb is: the logo must never encroach on the 50 mm strip unless the logo itself is printed on a reflective substrate approved by AS/NZS 1906.4.
For traffic‑control teams, AS 1742.3 adds the stipulation that Class R vests must feature high‑coverage retro‑reflective tape on the shoulders, sleeves and back. The design software’s template will normally highlight these zones; ignore them and you risk a citation from SafeWork NSW or WorkSafe Victoria. Penalties can climb to the WHS Category 2 maximum of $1.5 million for a body corporate that repeatedly fails to provide compliant attire.
The Compliance Guide on Safety Vest’s site walks through how to verify that your PDF meets the required colour‑space and tape‑placement specifications. After you upload, the internal audit checks for correct colour codes, proper embedding of fonts, and that the file dimensions match the vest’s printable area. If the proof passes, the vest proceeds to screen print, DTF or embroidery with no extra artwork charges—a perk that keeps costs flat even for a single‑vest order.
Remember: the enforcement bodies—SafeWork NSW, WorkSafe Victoria and WHS Queensland—can conduct on‑site inspections at any time. A well‑prepared design file not only smooths production but also shields you from costly compliance breaches.
Common mistakes or misconceptions on Australian worksites
Site managers often assume that any bright colour will satisfy “hi‑vis” requirements. In reality, only the two approved fluorescent shades are legal. A frequent error is using a “neon” orange from a local printer that looks bright but fails the colour‑spectra test, leading to a non‑compliant vest and a possible work‑cover order.
Another misstep is placing the logo directly over the reflective tape without checking the AS/NZS 1906.4 standards for printable reflective material. If the logo is printed with a standard ink, the tape’s retro‑reflectivity drops dramatically, reducing night‑time visibility. The short answer is: keep the logo on the base fabric, or request a reflective‑compatible print method from the supplier.
Some foremen think “one size fits all” works for safety apparel. That approach compromises fit and can lead to the tape not fully wrapping the torso, especially on larger workers (size 4XL‑7XL). Safety Vest Australia offers a full size range and a live designer that automatically scales the artwork, so the tape stays correctly positioned regardless of size.
Finally, many assume that once a design is approved, the job is done. In practice, colour drift can occur during the screen‑print process if the printer doesn’t use the same CMYK profile you set up. The best practice is to request a physical colour swatch before the full run, especially when ordering volume discounts for 100+ vests. This small extra step saves time, money and the embarrassment of a non‑compliant batch arriving on site.
Industry‑specific context
Construction & Building – A subcontractor on a high‑rise project in Sydney needed a vest that displayed both the main contractor’s logo and the on‑site safety QR code. Using Inkscape, the site engineer imported the QR vector, placed it on the lower‑left chest, and ensured it sat outside the 50 mm reflective strip. The final design complied with AS/NZS 4602.1 and survived a SafeWork NSW audit, while the QR code gave workers instant access to daily safety briefings.
Mining & Resources – In a Queensland coal mine, the shift supervisor required a flame‑resistant (FR) vest that also carried the mine’s green‑yellow safety colours. By selecting the FR template on Safety Vest’s portal and layering a reflective logo that met AS/NZS 2980, the team received a Class D/N FR vest that passed both visibility and arc‑rating tests. The vest shipped to the remote mine camp in three days, thanks to the standard 5–7 day turnaround and express option.
Events & Crowd Control – During a music festival in Perth, volunteers needed a lightweight Mesh hi‑vis vest with a bright orange‑red logo for easy identification. The organiser used the online designer to add a heat‑transfer logo that sat on the breathable fabric, not the reflective tape, keeping the vest cool in the summer heat while staying compliant with AS/NZS 4602.1.
These real‑world examples show that the same design workflow applies across sectors, but each industry may add a nuance—QR codes for construction, FR compliance for mining, or breathable mesh for events.
Frequently Asked Questions
Q: Can I use Photoshop instead of a vector programme for my vest layout?
A: Photoshop works for raster images, but the safety vest templates require vector accuracy for scaling across XS‑7XL. Using a vector editor like Inkscape guarantees crisp edges and avoids pixelation when the design is enlarged.
Q: What file format should I upload for an embroidered logo?
A: Export the logo as an EPS or SVG with all paths outlined. Embroidery machines read vector paths directly, and the file will be accepted without additional artwork fees.
Q: Do I need to pay extra for colour matching the fluorescent shades?
A: No. Safety Vest Australia supplies the approved fluorescent inks at no additional charge, provided you select the correct colour codes in your design file.
Q: How long does it take to get a proof back after uploading my design?
A: The internal compliance team usually returns a digital proof within 24 hours on business days. If the file passes, production can start the next day, keeping you within the 5‑7 business‑day delivery window.
Q: Are volume discounts applied automatically, or do I need to request them?
A: Discounts trigger automatically once you enter the required quantity (25, 50, 100 or 500+). The quote you receive from the Contact Us page will reflect the appropriate price break.
Conclusion
Designing a compliant, eye‑catching safety vest is far easier than it sounds when you use the right software and follow a clear workflow. Remember these three takeaways:
- Choose a vector‑based programme and work from the official template to guarantee correct tape placement and colour compliance.
- Keep the logo off the reflective strip unless you use a reflective‑compatible print method, and always check against AS/NZS 4602.1 and the relevant state WHS authority.
- Use the live vest designer on Safety Vest’s site to preview, proof and order – no minimums, no hidden fees, and delivery across Australia in 5–7 business days.
Ready to turn your design into a production‑ready file? Get your proof started today by contacting the experts at Safety Vest Australia via the Contact Us page or explore the full range of custom options on the Custom Safety Vests catalogue. Your workers’ visibility—and your compliance record—depend on it.