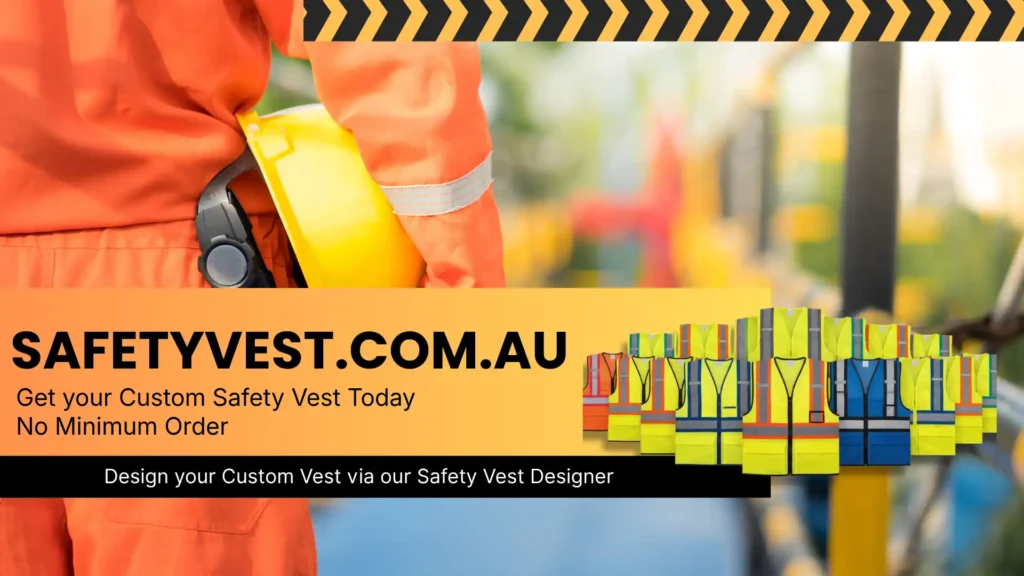
How to Design a Custom Emergency Vest for Site Emergency Wardens
When a sudden power outage left a construction site in total darkness, the on‑site emergency warden scrambled to locate the first‑aid kit. Because his vest was a faded Class D that barely met the minimum tape width, a fellow worker didn’t spot him in time and slipped on a stray cable. The incident triggered a work‑stop, a hefty fine from SafeWork NSW, and a serious injury that could have been avoided with a proper emergency vest.
Designing a custom emergency vest isn’t just about slapping a logo on a bright shirt. It’s a compliance‑driven process that needs the right class, reflective tape, colour, and functional pockets to keep the warden visible and equipped when seconds count. Below is a step‑by‑step guide that walks you through every decision, from colour choice to pocket layout, so your wardens are always ready to act – and always compliant.
1. Choose the Correct Vest Class for Emergency Wardens
What this means on a real worksite
Emergency wardens operate both day and night, often in low‑light conditions. The only classes that satisfy this dual requirement are Class D/N (Day/Night) or Class R (Roadwork) when the site includes vehicular traffic.
- Class D/N – Fluorescent yellow‑green or orange‑red background with reflective tape that meets AS/NZS 1906.4. Works for any daylight and night‑time scenario.
- Class R – Used where the warden must be seen by drivers on site roads; it still meets the same tape standards but adds a “R” marking on the back.
Never use Class D alone for night duty – that’s a common compliance slip that can attract penalties from WHS Queensland.
2. Pick the Right Colours and Tape
| Requirement | Minimum Standard | Typical Choice |
|---|---|---|
| Base colour | Fluorescent yellow‑green or fluorescent orange‑red (per AS 1742.3) | Yellow‑green for construction, orange‑red for traffic control |
| Reflective tape width | 50 mm minimum (AS/NZS 1906.4) | 50 mm tape that runs around the torso, shoulders and sleeves |
| Tape placement | Must encircle torso completely | Full‑wrap on front, back and sleeves for 360° visibility |
Put simply, the vest must be bright enough to stand out in daylight and reflective enough to be seen from any angle in darkness.
3. Practical Tool – Custom Emergency Vest Checklist
Use this checklist before sending any design to print
- [ ] Vest class selected (Class D/N or Class R)
- [ ] Base colour matches AS 1742.3 (yellow‑green OR orange‑red)
- [ ] Reflective tape ≥ 50 mm and wraps torso, sleeves, and back
- [ ] Tape complies with AS/NZS 1906.4 (tested for durability)
- [ ] Pocket layout includes:
– Large front pocket for incident‑report forms
– Small zip pocket for a whistle or megaphone
– Reinforced sleeve pocket for a torch or first‑aid kit - [ ] Branding (logo, site name) placed outside the reflective strip, not breaking the continuous tape band
- [ ] Stitching and seams meet AS/NZS 4602.1 for high‑visibility garments
- [ ] Size range covers all body types on site (XS‑XXL)
4. Layout Essentials – Where Sites Go Wrong
Wrong vest class – Many sites outfit wardens with a standard Class D vest, forgetting night‑time duties. The result? Poor visibility after dark and non‑compliant gear.
Faded hi‑vis – Cheap imports lose their fluorescence after a few washes. A faded vest is virtually invisible on a dusty site, breaching AS 1742.3.
Cheap non‑compliant imports – Some overseas suppliers ignore the 50 mm tape rule, delivering vests with narrow strips that don’t meet AS/NZS 1906.4.
Incorrect branding placement – Logos printed over the reflective band create a “break” in the tape, reducing reflectivity and exposing the site to fines from WorkSafe Victoria.
Avoid these pitfalls by working with an Australian manufacturer that adheres to AS/NZS 2980 and AS/NZS 4602.1—just like the team at Sands Industries, the parent company behind safetyvest.com.au.
5. Industry Examples
Construction Sites
A regional builder required every site emergency warden to wear a Class D/N vest with a dedicated “Warden” pocket for the site‑specific safety plan. By integrating the plan into a zip‑secure pocket, the warden could access it without removing the vest, cutting response time by 30 seconds.
Traffic Control Zones
On a busy highway diversion, the traffic‑control manager ordered Class R vests with a reflective “R” badge and a high‑visibility whistle pocket. The extra night‑time visibility saved a near‑miss when a driver swerved into the work lane.
Warehousing & Logistics
A large distribution centre chose orange‑red Class D/N vests with an oversized front pocket for spill‑response kits. The colour choice matched the warehouse’s safety colour coding, keeping the emergency kit always within reach.
Mining Operations
Underground mines require fluorescent yellow‑green vests that are also flame‑resistant. By specifying a Class D/N vest made from fire‑retardant fabric, the mine met both visibility and safety‑material standards without a separate purchase.
Events & Festivals
A music festival hired temporary emergency wardens. Their custom vest featured a discreet zip pocket for a portable defibrillator and a clear “Emergency Warden” label placed above the tape, ensuring quick identification in crowds.
6. Step‑by‑Step Design Process
- Identify the work environment – Day‑only, night‑only, or mixed.
- Select vest class – Class D/N for mixed, Class R if vehicular traffic is present.
- Choose base colour – Yellow‑green for construction, orange‑red for traffic or events.
- Specify reflective tape – Minimum 50 mm, continuous wrap, compliant with AS/NZS 1906.4.
- Map pocket layout – Prioritise emergency tools (whistle, torch, first‑aid kit).
- Add branding – Place logos outside the tape band; keep the band uninterrupted.
- Select fabric – Consider additional requirements like flame‑resistance for mining.
- Run a compliance check – Use the checklist above; request a sample that meets AS/NZS 4602.1.
- Finalize sizes – Order a size range that fits every warden on the site.
- Place the order – Work with a reputable Australian supplier; safetyvest.com.au can guide you through the [custom safety vests] process.
7. Keep Your Wardens Ready – Final Takeaways
- Pick the correct class (Class D/N or Class R) to cover day and night duties.
- Stick to the approved fluorescent colours and 50 mm reflective tape.
- Design pockets for the specific tools your wardens need on the spot.
- Avoid common mistakes – wrong class, faded fabric, broken tape, and misplaced logos.
- Run the custom‑vest checklist before production to stay compliant with AS/NZS 1906.4, AS 1742.3, and local WHS authorities.
Got a design in mind or need a compliance audit? Reach out to the specialists at safetyvest.com.au and let us help you get the right vest on every emergency warden’s back.
Contact us today for a free quote or to discuss a bespoke solution: https://safetyvest.com.au/contact-us.