Hi‑Vis Vest Rules for Metro Rail Construction in Sydney and Melbourne
A crew on a Sydney metro tunnel was halted after a supervisor spotted a worker wearing a faded orange‑red vest that didn’t meet the required Class R standard. The site‑stop cost hours, the contractor faced a fine from SafeWork NSW, and the worker’s visibility was compromised just as a maintenance train whizzed past. That one oversight could have turned a costly shutdown into a serious injury. For metro rail projects where trains run 24 hours a day, the right high‑visibility vest isn’t optional – it’s a legal lifeline.
What the Aussie Standards Demand
Metro rail works are high‑risk environments. The relevant standards are AS/NZS 4602.1 (high‑visibility clothing), AS/NZS 1906.4 (reflective tape), and AS 1742.3 (traffic control devices).
| Requirement | Detail |
|---|---|
| Vest class | Class R – roadwork, suited for environments with moving traffic and high‑speed vehicles. |
| Colour | Fluorescent orange‑red (or yellow‑green) background. |
| Reflective tape | Minimum 50 mm wide, encircles the torso, meets AS/NZS 1906.4. |
| Night work | Add Class N striping for low‑light conditions, creating a D/N combo if needed. |
| Size & fit | Must cover torso fully, snug enough to stay in place on a moving rail‑car platform. |
Put simply, a compliant metro rail vest must be Class R with compliant tape, the right fluorescent colour, and proper fit. Anything less fails the audit.
Where Sites Go Wrong
- Wrong vest class – Using a Class D (day‑only) vest on a live‑track zone.
- Faded hi‑vis – Over‑exposed vests lose fluorescence after a few washes; they’re still on the site but no longer meet AS/NZS 4602.1.
- Cheap imports – Non‑Australian‑made vests often skip the 50 mm tape requirement, putting workers at risk and breaching WHS Queensland rules.
- Branding over‑rides – Large logos or reflective logos that break the continuous tape loop, compromising the required encirclement.
That’s where most sites get it wrong: they cut cost and end up paying with time, money, and safety.
Practical Checklist for Metro Rail Teams
Before the first shift, run this quick audit:
- [ ] Vest colour is fluorescent orange‑red (or yellow‑green) and matches the project safety plan.
- [ ] Class R labelling is visible on the front and back.
- [ ] Reflective tape is ≥ 50 mm, uninterrupted, and wraps fully around the torso.
- [ ] Tape meets AS/NZS 1906.4 – check the manufacturer’s certification.
- [ ] For night‑time or low‑light work, confirm Class N striping is present.
- [ ] Vest is free of stains, tears, or faded sections; replace any that look worn.
- [ ] Branding (logo, name) does not cover reflective tape or exceed 10 % of the vest surface.
Keep a signed copy of this checklist on the site office and review it at each shift hand‑over.
Industry Examples: Metro Rail in Action
Sydney – North West Rail Link
During the tunnel‑bore phase, crews used Class R vests with reflective panels that extended over the shoulders. When a supply train entered the tunnel at 70 km/h, the high‑visibility ensured workers on the track were spotted 150 m away, preventing a near‑miss. The project’s safety plan references the Compliance Guide to verify every vest meets AS/NZS 4602.1.
Melbourne – Metro Tunnel Project
A subcontractor initially supplied Class D vests for a night‑time track‑laying crew. After a WHS Victoria audit, they were fined and forced to switch to Class R/D‑N vests. The incident sparked a site‑wide “vest check‑day” that reduced non‑compliant vest usage from 22 % to zero within two weeks.
These stories show how the right vest class and proper maintenance keep projects on schedule and out of the regulator’s cross‑hairs.
Step‑by‑Step Guide to Selecting the Right Vest
- Identify work zone – Is the area a live‑track corridor or a temporary shutdown zone?
- Match the class – Choose Class R for any zone with moving rail traffic; add Class N for night work.
- Confirm colour and tape – Verify fluorescent background and 50 mm reflective tape encircling the torso.
- Check certifications – Ask the supplier for AS/NZS 1906.4 compliance certificates.
- Test fit on‑site – Have a worker walk, climb ladders, and sit on a rail‑car to ensure the vest stays in place.
- Document – Record vest batch numbers and attach them to the site safety register.
Following these steps aligns you with SafeWork NSW, WorkSafe Victoria, and WHS Queensland requirements, and keeps the project moving.
Quick Links You’ll Need
- Learn the full compliance checklist: [Compliance Guide](https://safetyvest.com.au/compliance-guide)
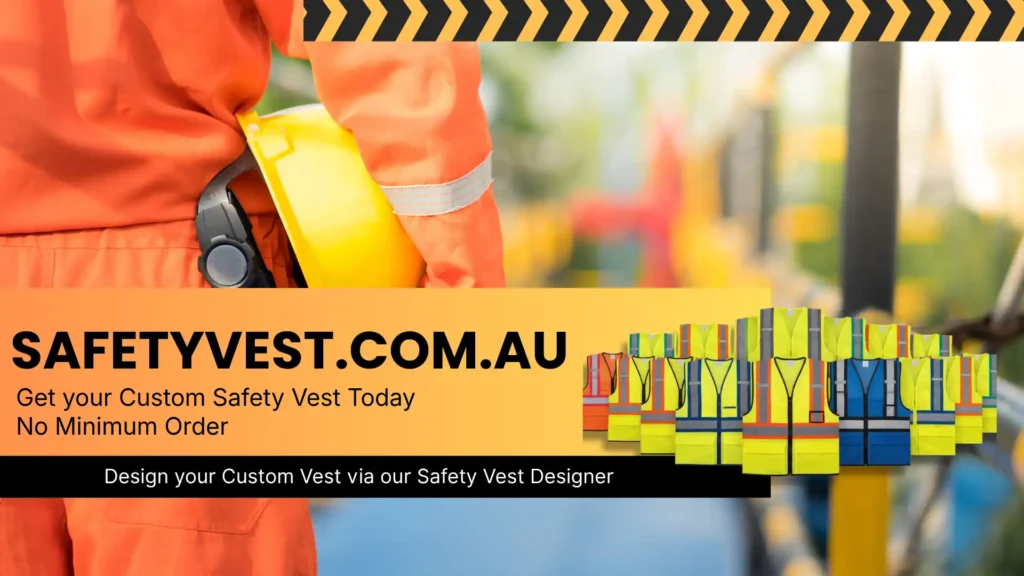
- Order customised metro‑rail vests with project logos: [Custom Safety Vests](https://safetyvest.com.au/custom-safety-vests)
- Browse our full range of hi‑vis products: [Products](https://safetyvest.com.au/products)
- Need advice on which vest suits your next tunnel? [Contact us](https://safetyvest.com.au/contact-us)
For a deeper look at the manufacturing standards that back our vests, see the parent company Sands Industries – a trusted Australian supplier that produces every vest to the exacting standards required for rail projects: 👉 https://sandsindustries.com.au/
Sticking to the correct hi‑vis vest rules isn’t just paperwork; it’s the difference between a smooth shift and a costly shutdown. Run the checklist, train your crews, and keep the vests bright and compliant – the rail network will thank you, and regulators will thank you even more. If you’re unsure which vest class fits your project, give us a shout and we’ll sort it out together.
Ready to get the right vests on site? Reach out through our [Contact page](https://safetyvest.com.au/contact-us) or request a [custom design](https://safetyvest.com.au/custom-safety-vests) today.