How to Order Custom Safety Vests for a Project Starting Next Week in Australia
The foreman on a busy Melbourne construction site reached for the colour‑coded safety vests just before a 7 am start‑up. The stack was a mix of faded orange‑red, a few bright yellow‑green, and a handful of unbranded “budget” vests bought off the back of a truck. Within minutes a traffic‑control officer flagged the crew – the vests didn’t meet the required Class R for roadwork and the reflective tape had begun to delaminate. The site was shut down, fines were issued and the crew lost valuable hours that could have been spent on‑site.
If your project is kicking off next week, you can avoid this nightmare with a clear, step‑by‑step ordering process. Below is a practical guide that takes you from sizing the crew to receiving a compliant, custom‑branded batch of hi‑vis vests, all while staying within Australian standards.
1. Know Which Vest Class You Need
| Project type | Required class | Typical colour | When night work is involved |
|---|---|---|---|
| General construction (daytime) | Class D | Fluorescent yellow‑green or orange‑red | N/A |
| Night‑time or low‑light work | Class N | Same as above, high‑visibility reflective tape | Add reflective tape that encircles the torso |
| Day / night crossover | Class D/N | Either colour, tape meets both day and night requirements | Use tape that complies with AS/NZS 1906.4 |
| Roadwork / traffic control | Class R | Fluorescent orange‑red | Mandatory for any work on public roads |
What this means on a real worksite: Picking the wrong class can trigger a work‑stop order from SafeWork NSW, WorkSafe Victoria or WHS Queensland. Confirm the class early – it’s the difference between a smooth start and a costly delay.
2. Gather Your Project Details
Before you contact a supplier, have the following on hand:
- Number of workers (including spares for replacements)
- Sizes – collect chest measurements or use a standard size chart.
- Colour preference – stick to the two approved fluorescent shades.
- Branding requirements – logo placement, text size, and colour contrasts.
- Delivery deadline – clearly state “project starts next week, vests needed by Monday morning”.
What this means on a real worksite: With the details locked down, the supplier can cut the production time and you avoid a last‑minute scramble for off‑the‑shelf, non‑compliant vests.
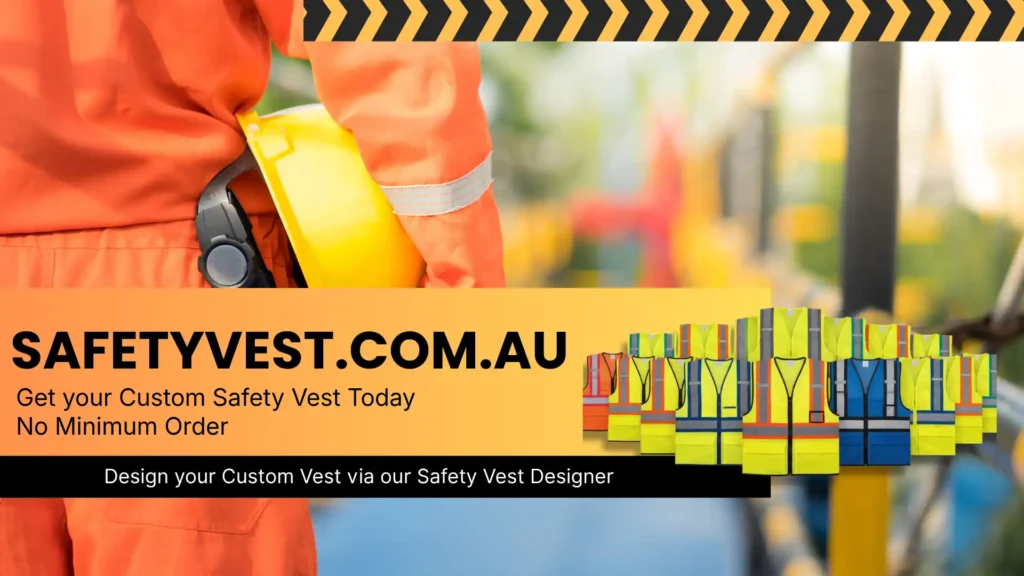
3. Choose a compliant supplier
Safetyvest.com.au works under the Sands Industries umbrella, a manufacturer with a reputation for meeting AS/NZS 4602.1, AS/NZS 1906.4, AS/NZS 2980 and AS 1742.3. When you request a quote, ask for:
- Proof of compliance (test certificates for reflective tape).
- Sample of the finished garment before bulk production.
- Clear terms on colourfastness and tape durability (minimum 50 mm tape width that fully encircles the torso).
What this means on a real worksite: A compliant supplier eliminates the risk of receiving cheap imports that don’t meet Australian standards – a common pitfall that can halt work and attract fines.
4. Practical Tool – Pre‑Order Checklist
| ✅ Item | Details |
|---|---|
| Vest class confirmed (D, N, D/N, R) | Check project scope and night‑work needs |
| Quantity and size breakdown | Ensure 5‑10% extra for growth/repairs |
| Colour & reflective tape specs | 50 mm tape, encircling torso, AS/NZS 1906.4 |
| Branding artwork approved | High‑contrast, positioned per AS 1742.3 |
| Compliance documentation requested | Test certificates, warranty |
| Delivery date locked | Provide site address and contact |
| Payment terms agreed | Verify invoicing process |
What this means on a real worksite: Tick each box before the order goes out and you’ll have a ready‑to‑wear, legally compliant vest batch awaiting your crew on day one.
5. Where Sites Go Wrong
- Wrong vest class – Using Class D on a road‑work site (Class R required).
- Faded hi‑vis – Cheap imports lose reflectivity after a few washes.
- Cheap non‑compliant imports – Tape that doesn’t meet AS/NZS 1906.4, risking fines.
- Incorrect branding placement – Logos that cover reflective tape, reducing visibility.
What this means on a real worksite: Each of these errors can trigger a compliance breach, leading to work stoppages, injury risk and unnecessary expense.
6. Industry Examples
Construction – Melbourne CBD
A high‑rise build required 120 workers dressed in Class D vests. The site manager sourced custom vests through Safetyvest.com.au, specifying fluorescent yellow‑green with the company logo on the back. Delivery arrived two days early, allowing a full safety induction before the first steel‑erection shift.
Traffic Control – Queensland Highway Upgrade
Road crews were issued Class R orange‑red vests with reflective tape that wrapped 360°. The supplier provided a compliance guide (see our Compliance page) and the vests passed WHS Queensland inspection on the first day, keeping traffic flow smooth and avoiding fines.
Warehousing – Adelaide Distribution Centre
Night‑shift pickers needed Class N vests. The client ordered a batch with high‑visibility tape that met the night‑time reflectivity requirements. Because the vests were pre‑checked for colourfastness, no replacements were needed after the first month of use.
Mining – Western Australia Open‑Pit
A remote mine required durable, high‑visibility gear for both day and night crews. By ordering Class D/N vests with reinforced stitching, the site avoided the common problem of tear‑through at the seams, saving on replacement costs.
Events – Sydney Music Festival
Security personnel across multiple stages needed a uniform look. Custom safety vests with the festival logo were ordered in bulk, delivered ahead of the build‑up, and passed the event‑venue safety audit without a hitch.
What this means on a real worksite: Tailoring the order to the specific environment eliminates guesswork and keeps the crew visible, comfortable, and compliant.
7. Step‑by‑Step Ordering Process
- Confirm vest class – Match the work type to Class D, N, D/N or R.
- Collect size data – Use a simple spreadsheet; add a 5% buffer.
- Finalize branding – Send high‑resolution artwork to the supplier.
- Request a compliance package – Test certificates, colourfastness report.
- Place the order – Use the online form on the Custom safety vests page.
- Track production – Ask for a production timeline and a photo of the first sample.
- Receive and inspect – Check each vest against the checklist before signing for delivery.
- Distribute on‑site – Tag each vest to the worker’s name for accountability.
What this means on a real worksite: Following these eight steps ensures you receive the right number of compliant vests in time for day‑one, keeping the project on schedule and avoiding regulatory headaches.
8. Quick FAQ
Q: How long does custom production take?
A: Typically 10‑14 business days from design approval, but many sites meet a one‑week deadline by using Sands Industries’ rapid‑turn capability.
Q: Can I order a small batch for a pilot crew?
A: Yes – the minimum order is 25 vests, which still qualifies for full compliance testing.
Q: What if a vest gets damaged on‑site?
A: Request a replacement from the supplier within the warranty period; most providers offer a 12‑month guarantee on stitching and tape adhesion.
Q: Are there any colour restrictions for specific industries?
A: Stick to the approved fluorescent yellow‑green or orange‑red. Any other colour will not meet AS/NZS 4602.1 for high‑visibility workwear.
Keeping your crew visible and compliant doesn’t have to be a scramble at the last minute. By confirming the right class, gathering accurate sizing, choosing a reputable supplier like Safetyvest.com.au, and ticking off the pre‑order checklist, you’ll have a ready‑to‑wear, custom‑branded batch of hi‑vis vests on the ground before the first shovel hits the earth.
Need a fast, compliant quote for next week’s start? Contact us now or explore the custom safety vests page for a detailed guide.