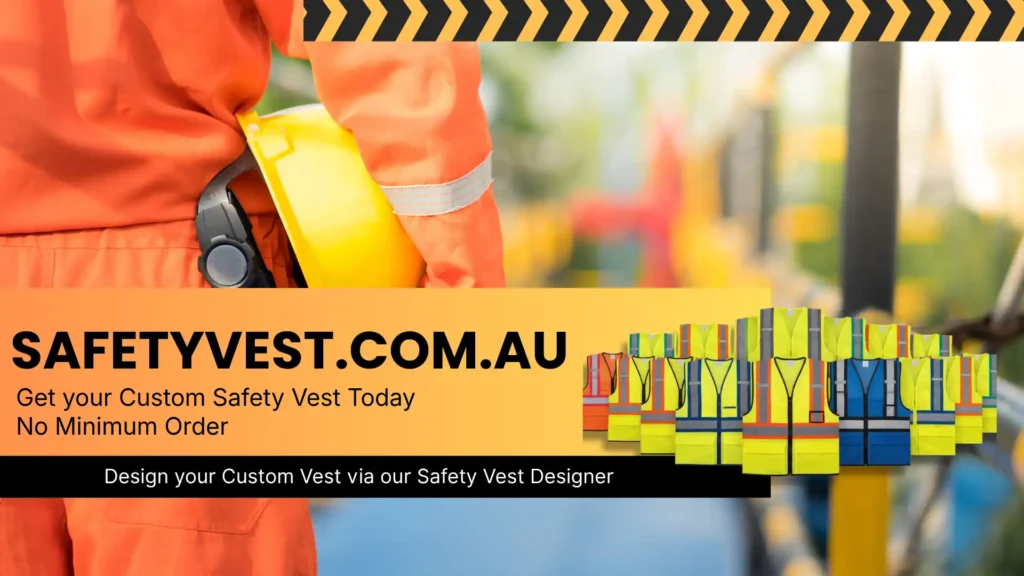
How to Design a Custom Safety Vest Without a Graphic Designer in Australia
The morning crew on a Melbourne construction site pulled on their new hi‑vis vests just before the lift‑off. Within minutes the foreman spotted a glaring problem – the company logo was printed upside‑down on the front, and the reflective tape didn’t wrap fully around the torso. The supervisor halted work, the site was shut down for a safety audit, and the penalty notice from SafeWork NSW hit the books the next day. It’s a scenario that could have been avoided with a few practical steps, even if you don’t have a graphic designer on payroll.
Designing a compliant, eye‑catching custom safety vest is simpler than you think. Below is a hands‑on guide that walks you through every decision, from colour choice to reflective tape layout, using only the tools you already have.
1. Know the Compliance Basics First
Before you start fiddling with fonts, double‑check that the vest meets the relevant Australian standards:
| Requirement | What It Means on Site |
|---|---|
| Class D (Day) – fluorescent yellow‑green or orange‑red, 50 mm reflective tape | Workers on construction or warehousing sites where daylight is the primary light source. |
| Class N (Night) – same colours, 100 mm reflective tape covering the torso | Night‑time roadwork or mining shifts. |
| Class D/N (Day/Night) – combination of 50 mm and 100 mm tape | Projects that move between day and night shifts. |
| Class R (Roadwork) – orange‑red with 100 mm tape, reflective tape must encircle the torso | Traffic controllers and roadside crews. |
| Reflective tape – must comply with AS/NZS 1906.4 (minimum 50 mm width, fully encircles torso) | Guarantees visibility from 200 m in low‑light conditions. |
| Colours – only fluorescent yellow‑green or fluorescent orange‑red are approved | Prevents illegal colour substitutions that can confuse workers and inspectors. |
All of these standards are enforced by SafeWork NSW, WorkSafe Victoria, WHS Queensland and other state regulators. Non‑compliant vests can lead to hefty fines or a work‑stop order.
2. Practical Tool: DIY Design Checklist
Print this out or keep it on your phone while you design.
- [ ] Select the correct class (D, N, D/N, R) for the work environment.
- [ ] Choose an approved colour – fluorescent yellow‑green or orange‑red.
- [ ] Confirm reflective tape width (50 mm for day, 100 mm for night/roadwork).
- [ ] Gather branding assets – high‑resolution logo (minimum 300 dpi), company name, safety slogans.
- [ ] Decide placement – front centre, upper back, or sleeve. Keep the logo ≤ 10 cm × 10 cm to avoid covering reflective tape.
- [ ] Select font – simple, sans‑serif (Arial, Calibri) at 30 pt or larger for readability.
- [ ] Check contrast – logo colour must stand out against the fluorescent background (e.g., black logo on yellow‑green).
- [ ] Run a mock‑up in PowerPoint, Canva (free version), or even Microsoft Word; print on A4 paper to visualise size.
- [ ] Validate against AS/NZS 4602.1 – ensure the design does not obscure any required tape zones.
- [ ] Upload the final file to safetyvest.com.au’s custom‑vest portal (link below).
3. Step‑by‑Step Guide Using Common Software
- Open a blank document in PowerPoint (ideal because you can set exact dimensions).
- Set slide size to the vest’s printable area – typically 300 mm wide × 400 mm high for a standard adult size.
- Insert a background colour matching your chosen fluorescent shade (use RGB 255,255,0 for yellow‑green or 255,69,0 for orange‑red).
- Add a rectangle that represents the reflective tape zone (use a light grey fill) and position it to wrap around the torso edge.
- Drop in your logo and resize it within the 10 cm limit. Keep it centred on the chest or upper back.
- Add text such as “Site Safety First” in a bold, 30 pt Arial font. Align it opposite the logo to balance the design.
- Export as PDF (File → Export → Create PDF) – this preserves vector quality for the printer.
Tip: Canva’s free library includes pre‑made hi‑vis templates that already respect tape zones; you only need to swap in your branding.
4. Where Sites Go Wrong
- Wrong vest class – using a Class D vest on a night‑shift roadwork crew, leaving workers invisible after dark.
- Faded hi‑vis – cheap imports that lose fluorescence after a few washes, failing AS 1742.3 minimum reflectivity.
- Cheap non‑compliant imports – overseas vests that claim “high‑visibility” but use non‑standard tape, risking fines.
- Incorrect branding placement – logos that sit over the reflective tape strip, reducing the vest’s visibility rating.
These slip‑ups are preventable with a quick compliance scan against the checklist above.
5. Industry Examples
| Industry | Typical Vest Class | Common Design Pitfall | Solution |
|---|---|---|---|
| Construction (Sydney) | Class D | Logo printed too large, covering tape | Keep logo ≤ 8 cm, centre chest, leave tape untouched |
| Traffic Control (Brisbane) | Class R | Using fluorescent yellow instead of orange‑red | Switch to approved orange‑red for roadwork |
| Warehousing (Perth) | Class D/N | No night‑time tape, workers fined for low‑light shifts | Add 100 mm tape around torso for night work |
| Mining (Kalgoorlie) | Class N | Vest colour faded after 3 washes | Choose high‑quality polyester blend, replace annually |
| Events (Adelaide Festival) | Class D | Branding on both front and back causing tape obstruction | Place branding only on sleeves or small chest patch |
6. Frequently Asked Questions
Q: Do I need a graphic designer to meet AS/NZS 1906.4?
A: No. The standard only dictates tape width, placement and colour. Simple layout tools can keep you compliant.
Q: Can I use a company mascot on the vest?
A: Yes, as long as the image doesn’t cover any reflective zones and stays within the 10 cm size limit.
Q: How often should I replace hi‑vis vests?
A: Inspect monthly; replace when fluorescence or reflectivity drops, usually every 12–18 months for high‑use sites.
Q: Are custom colours allowed?
A: No – only the two fluorescent shades are permitted under AS 1742.3.
7. Getting Your Custom Vest Made
Now that you’ve mapped out a compliant design, the next step is production. Safetyvest offers a straightforward online custom‑vest platform where you can upload your PDF and select the exact class and tape configuration. Their manufacturing is backed by Sands Industries, a trusted Australian supplier with the capacity to deliver bulk orders on schedule.
- Compliance guide – see the full requirements at safetyvest.com.au/compliance-guide.
- Custom safety vests – upload your design here: https://safetyvest.com.au/custom-safety-vests
- Product range – explore standard options at https://safetyvest.com.au/products
Bottom Line
Designing a custom safety vest without a graphic designer is entirely doable when you focus on compliance, use simple layout software, and run a quick checklist before sending it to print. The payoff? A vest that keeps your crew visible, meets every state regulator’s requirements, and showcases your brand without the costly mistake of a misplaced logo.
Ready to get your site‑specific vest off the drawing board? Start your design today and let the experts at safetyvest.com.au handle the production. Need a hand fine‑tuning your artwork? Reach out via the contact page – we’ll make sure your vest is both compliant and spot‑on for the job.
Contact us: https://safetyvest.com.au/contact-us