Construction Vest Buying Guide 2025 Top Picks for Safety
Selecting the right construction vest can be the difference between a worker being spotted on a busy site and becoming the subject of a near‑miss report. In Australia, more than 22 % of workplace incidents involve visibility failures, according to SafeWork Australia. Choosing a vest that meets the latest standards and fits the realities of a construction environment isn’t optional – it’s a core part of any site‑specific safety plan.
Why the Right Vest Matters on Australian Construction Sites
Construction sites are dynamic, high‑risk environments where workers move between low‑level tasks and high‑altitude work zones. The AS/NZS 4602.1 standard sets out the minimum colour and retro‑reflective performance for high‑visibility clothing, yet many organisations still purchase generic hi‑vis gear that falls short of these requirements.
SafeWork Australia’s national statistics show that inadequate visibility accounts for a significant share of site injuries, especially during dawn, dusk, and adverse weather. State bodies such as WorkSafe NSW and WorkSafe VIC routinely audit PPE compliance and can issue improvement notices if vests do not meet the mandated Class 2 or Class 3 levels for the specific task.
A well‑chosen construction vest not only satisfies legal obligations but also reinforces a safety‑first culture, reduces the likelihood of costly incidents, and improves overall site productivity by making workers instantly identifiable to plant operators, traffic controllers, and fellow tradespeople.
How to Choose the Perfect Construction Vest – Step‑by‑Step
-
Identify the required class level – Class 1 is for low‑risk, indoor environments, while Class 2 suits most outdoor construction work. For high‑risk activities (e.g., crane operation, night work) select a Class 3 vest. Check the AS/NZS 4602.1 chart to match the task.
-
Select the right colour palette – Fluorescent yellow, orange, or red are the primary options. Fluoro‑yellow offers the best contrast against most backgrounds, while orange is preferred for traffic‑control zones. Ensure the colour is consistent with your site’s hazard‑identification plan.
-
Evaluate reflective tape placement – Tape should be positioned on the chest, back, and sleeves in a chevron pattern for maximum 360° visibility. Look for vests with ASTM‑type 500‑plus tape, which reflects more light than lower‑grade alternatives.
-
Check fit and durability – Choose a vest with adjustable neck and side straps, reinforced stitching, and breathable, tear‑resistant fabric. A proper fit prevents snagging on equipment and maintains the vest’s reflective geometry.
-
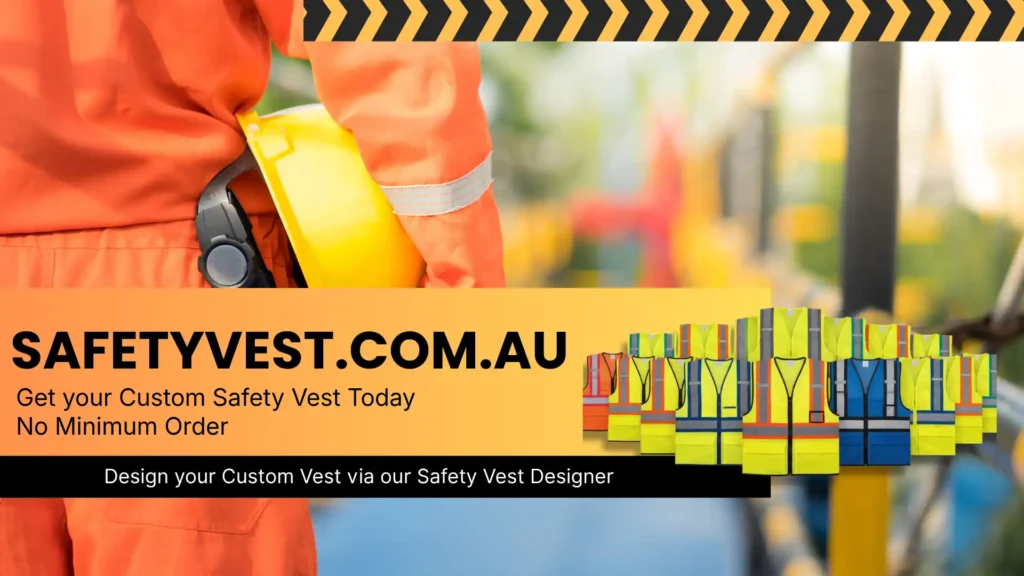
Consider custom branding – Adding your company logo or site‑specific safety messages can boost morale and reinforce brand visibility. Use the [custom safety vest designer] to design your own safety vest and ensure the branding does not obscure reflective surfaces.
-
Verify compliance documentation – Reputable suppliers provide a certificate of conformity to AS/NZS 4602.1. Review the [AS/NZS 4602 compliance guide] for a full breakdown of testing methods and acceptable tolerances.
-
Plan for lifecycle management – High‑visibility garments degrade under UV exposure. Establish a replacement schedule (typically every 12–18 months) and keep a log of vest issuance, inspections, and retirements.
Australian Compliance and Buying Tips for Construction Vests
Australia’s safety framework insists that every worker on a construction site wear high‑visibility PPE that complies with AS/NZS 4602.1. In New South Wales, WorkSafe NSW mandates Class 3 vests for anyone working within 10 m of moving plant, while Victoria’s regulations require Class 2 for general site labour. Queensland’s WorkSafe adds a stipulation that reflective tape must retain at least 80 % of its original reflectivity after 12 months of outdoor exposure.
When ordering, request a compliance statement that lists the vest’s class, colour, tape type, and test results. Many suppliers also offer bulk‑discount programmes for large projects, which can be leveraged through a [full compliance requirements] assessment to ensure you’re not over‑paying for unnecessary Class 3 garments on low‑risk tasks.
Common Mistakes to Avoid When Buying Construction Vests
- Choosing the wrong class for the task – A Class 2 vest on a night‑time crane site fails legal requirements and reduces visibility.
- Relying on colour alone – Fluorescent colours help in daylight, but without adequate reflective tape they become ineffective at dusk or in rain.
- Neglecting fit and comfort – Oversized vests can ride up, hiding reflective panels; too tight a vest may inhibit movement and lead to workers removing it.
- Skipping the replacement schedule – Over‑exposed vests lose reflectivity; a simple visual inspection isn’t enough—use a handheld retro‑reflectometer if possible.
Addressing these pitfalls not only keeps you compliant but also positions your organisation for the featured snippet “how to choose a construction vest” on Google.
Frequently Asked Questions
What class of construction vest do I need for night‑time work?
For night‑time or low‑light conditions, a Class 3 vest is required under AS/NZS 4602.1. It provides the highest level of retro‑reflective performance, ensuring visibility from all angles.
Can I add my company logo without breaching compliance?
Yes, as long as the branding does not cover the required reflective panels or alter the vest’s colour. Use the [custom safety vest designer] to place logos in permitted zones.
How often should construction vests be replaced?
Typically every 12–18 months, depending on exposure to sunlight, rain, and mechanical wear. Check the vest’s reflectivity with a retro‑reflectometer to confirm it still meets standards.
Where can I find answers to other safety‑vest questions?
Visit the [safety vest FAQs] page for a full list of common queries, including sizing, fabric care, and bulk ordering options.
Upgrade your site’s visibility today – [build your branded vest online] and keep every worker seen, safe, and compliant.